Troubleshooting Techniques for Stepped Voltage Regulators

The troubleshooting techniques for stepper voltage regulators can be summarized into the following main aspects:
1、 Visual examination and preliminary diagnosis
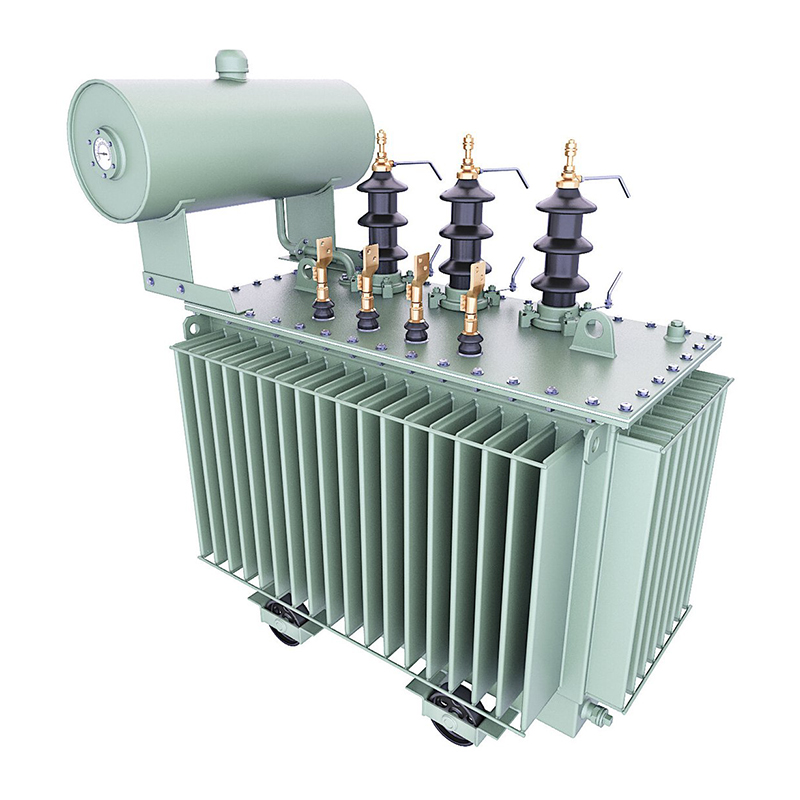
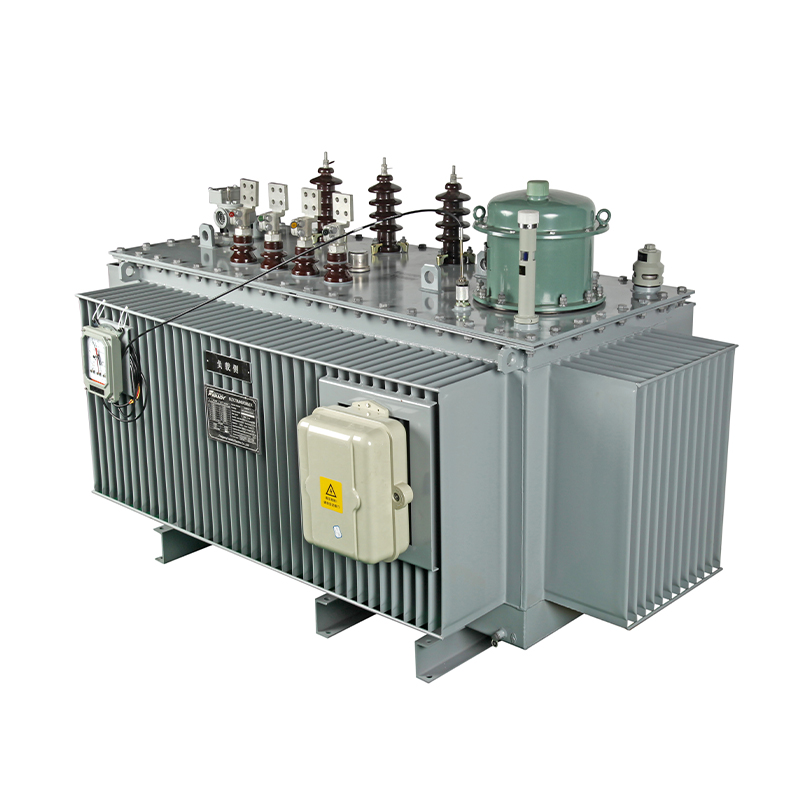
1. Observe appearance: Check the appearance of the stepper voltage regulator for obvious damage or deformation, which may cause damage to internal components.
2. Check the indicator light: Observe the status of the indicator light on the adjuster. Based on the flashing or constant light of the indicator light, the working status and possible faults of the adjuster can be preliminarily judged.
3. Monitoring sound: If the adjuster makes abnormal noise during operation, such as buzzing, squeaking, etc., it may be a signal of loose or damaged internal components.
2、 Electrical connection and power supply inspection
1. Check the power supply: Ensure that the power supply voltage is stable and meets the rated voltage requirements of the regulator. Measure the power supply voltage with a multimeter to ensure it is within an acceptable range.
2. Check electrical connections: Carefully inspect all electrical connections, including power lines, control lines, and signal lines, to ensure that they are securely connected and not loose or disconnected.
3. Check grounding: Ensure good grounding of the regulator to reduce the impact of electrical noise and interference on its performance.
3、 Parameter setting and functional testing
1. Verify parameter settings: Check if the parameter settings of the regulator are correct, including output voltage, current limits, etc. Incorrect parameter settings may cause the adjuster to malfunction.
2. Conduct functional testing: Under safe conditions, perform various functional tests on the adjuster, such as manual adjustment, automatic adjustment, etc., to verify whether its performance is normal.
4、 Driver and motor inspection
If a stepper voltage regulator is used in conjunction with a driver and motor, the following checks need to be performed:
1. Check the status of the drive: Observe whether the drive has alarm indicators such as overvoltage, undervoltage, overcurrent, etc. Take corresponding troubleshooting measures based on the alarm information.
2. Check the motor connection: Ensure that the connection between the motor and the driver is correct and secure. Check if the motor leads are damaged or disconnected.
3. Testing motor performance: With the load disconnected, test the operation of the motor to determine if there are any issues with the motor itself.
5、 Professional tools and auxiliary diagnosis
1. Use a multimeter: A multimeter is a commonly used tool for electrical troubleshooting, which can be used to measure parameters such as voltage, current, and resistance to help locate the fault point.
2. Use an oscilloscope: An oscilloscope can be used to observe waveforms in a circuit, and by analyzing the waveforms, the working status and possible faults of the circuit can be determined.
3. Consult professionals: If the above methods cannot solve the problem, it is recommended to consult a professional electrical engineer or technical support team for more professional help and guidance.
Please note that before performing any troubleshooting operations, it is essential to ensure safety and follow relevant safety regulations and operating procedures.
Relate Products
Relatenews
- The Future of Step Voltage Regulators in Smart Grids 2025-08-25 08:16:00
- Efficiency Metrics for Step Voltage Regulators 2025-07-19 08:45:00
- Step Voltage Regulators: Addressing Voltage Flicker in Welding Operations 2025-07-08 17:49:00
- Application and Challenges of step voltage regulator in Ocean Engineering 2024-12-26 15:41:41
- Seismic performance evaluation and reinforcement suggestions for step voltage regulator 2024-12-26 15:41:39
- Compact Design and Space Optimization Scheme of step voltage regulator 2024-12-26 15:41:38
- Discussion on the Integration of Intelligent Manufacturing and Industrial Internet of Step by step voltage regulator 2024-12-26 15:41:37
- Step Voltage Regulator Running In Cote D’vote Cie 2024-10-15 09:56:00


